www.mexicoindustrial.net
17
'19
Written on Modified on
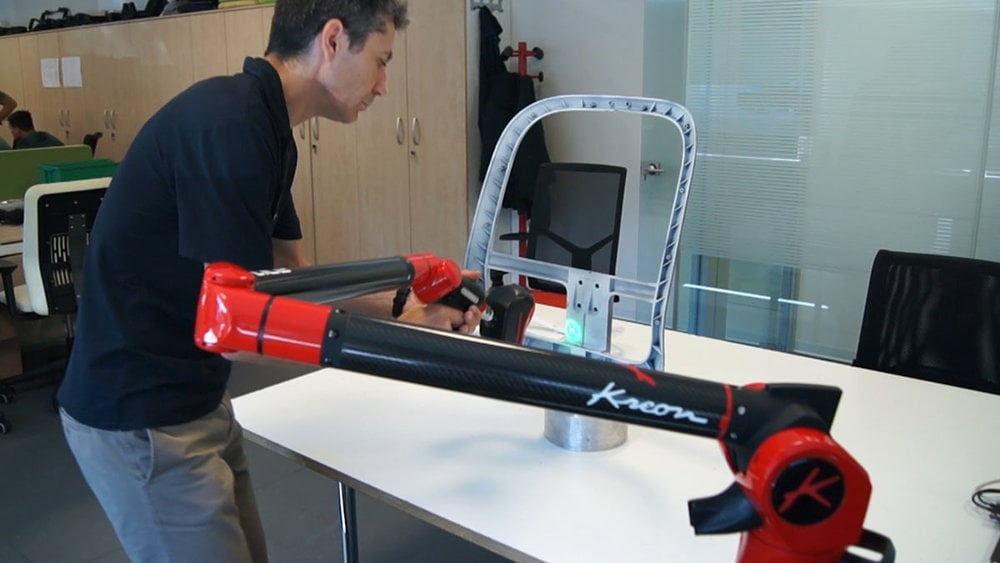
IMARC, diseñador de componentes y mecanismos de sillas de oficina, instala un brazo de medición Kreon en su departamento de ingeniería y diseño
Alentados por un proveedor de servicios que utiliza un brazo de medición Ace con un escáner Zephyr II Blue, el departamento de ingeniería y diseño de IMARC invierte en el mismo sistema, obteniendo autonomía en sus operaciones de escaneado y contacto.

The all new double telecentric lens, with a large diameter of 100mm, captures the complete image of the target element, thus allowing the measurement of all the control points at once. With this technology it becomes possible to capture pixels without image distortion of the component that is placed around the lens circumference. Hence measurement is neither affected by distortion, nor by the distance. The lens size dictates that parts up to 100mm in diameter can be measured.
Measurement data can be stored digitally as Inspection Reports, Data Lists or Trend Graphs along with screen shot images. These files can be exported to other sources as the IM series utilies a convenient PC based data management system.
With the IM-6500 dimensional measurement concept, you simply place the part to be measured in the measurement area. The iPASS method (Intelligent Pattern Analysis Search System) performs a shape scanning (from the already recorded targets) to determine its position and its shape.
Many features can be measured, from internal diameters, circular threads and angles. Previous difficult to measure features with traditional methods can now be performed automatically with reduced risk of operator error.
The IM-6500 series utilies the latest technology to eliminate individual differences. The original sub-pixel concept by Keyence makes it possible to automatically detect the position of the component edges more accurately than with traditional vision systems thanks to the sub-pixel processing with a margin of 0.01 pixels. The IM series has overcome the age old issue of measurement variations from one user to the other. The same applies for errors due to differences in operator competence. In addition, with the IM series absence of an XY stage, measuring time is saved without needing stage movements, and errors due to stage vibrations are not a concern. This has all been made possible by integrating the high speed image processing technology developed for the automation industry with the optical design technology used in microscopes. Increasing the customers’ results and the quantity of controls should thus contribute to improving quality.
The built in temperature sensor allows the IM-6500 series to be installed almost anywhere in a production facility. Temperature compensation ensures accurate measurement once the system is in use. The IM-6500 series is of a compact space saving design with a footprint the size of an A3 sheet of paper. It can be easily mounted near the production lines or in a laboratory.

